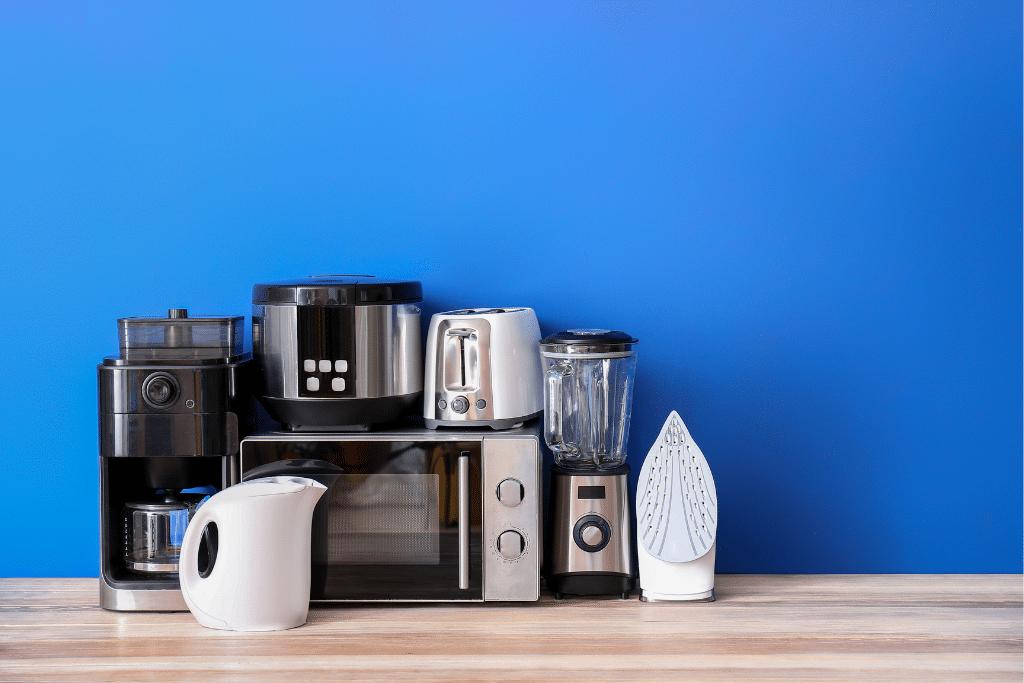
Packing your kitchen can feel overwhelming, but when you break it down into manageable tasks, the process can become much less daunting. Today, let’s talk about packing your small appliances—blenders, coffee makers, air fryers, and food processors—are often bulky, fragile, or have numerous small parts that can easily get lost or damaged. Here’s a detailed guide to help you pack your small kitchen appliances securely and efficiently, ensuring they make it to your new home in perfect condition.
1. Clean and Prepare Your Appliances
Before packing your kitchen appliances, give them a thorough cleaning. Remove any food residues, oils, or crumbs that may have accumulated over time. This will not only prevent odours but also help keep your boxes and the rest of your belongings clean.
Once cleaned, make sure the appliances are dry before packing to avoid moisture buildup during the move. Secure the cords with cable organizers or twist ties.
2. Disassemble When Possible
Many small kitchen appliances come with detachable parts, such as blades, trays, or lids. If the appliance has removable components, disassemble them carefully. This reduces the risk of parts moving around and getting damaged during transit. Make sure to remove the glass turntable plate from inside your microwave and pad it for protection. Place any small parts—such as attachments, blades, or rubber seals—into labeled zip-top bags and pack them in the same box for easy reassembly.
3. Wrap Each Appliance Securely
To prevent scratches, dents, or breakage, wrap each appliance individually using packing paper or bubble wrap. Be generous with the padding, particularly for glass parts or fragile components. For items with sharp blades or sensitive attachments, make sure they are well-protected with additional cushioning.
Pro Tip: If you’re running low on packing materials, use kitchen towels or linens as extra padding and to fill the spaces in the box. Not only is this eco-friendly, but it also saves space! Be careful not to overfill the box; you want the appliance to be snug but not under pressure.
4. Seal and Label the Box
Once packed, seal the box securely with strong packing tape. Label the box with the name of the appliance and note if it’s fragile. It’s also helpful to mark which side of the box should face up, especially if the appliance has a delicate component like a glass carafe.
Boxing up your kitchen, one step at a time, brings you closer to enjoying your new space. By carefully cleaning, disassembling, and wrapping each small appliance, you can ensure everything arrives safely and intact. Whether it’s your trusty blender or favourite coffee maker, following these simple packing tips will make the unpacking process that much smoother. Soon enough, you’ll be brewing coffee and blending smoothies in your new kitchen with ease. And if you have any questions along the way, our Relocation Consultants are always here to help!
